How to Grow Your Own Halloween Myco-Skull
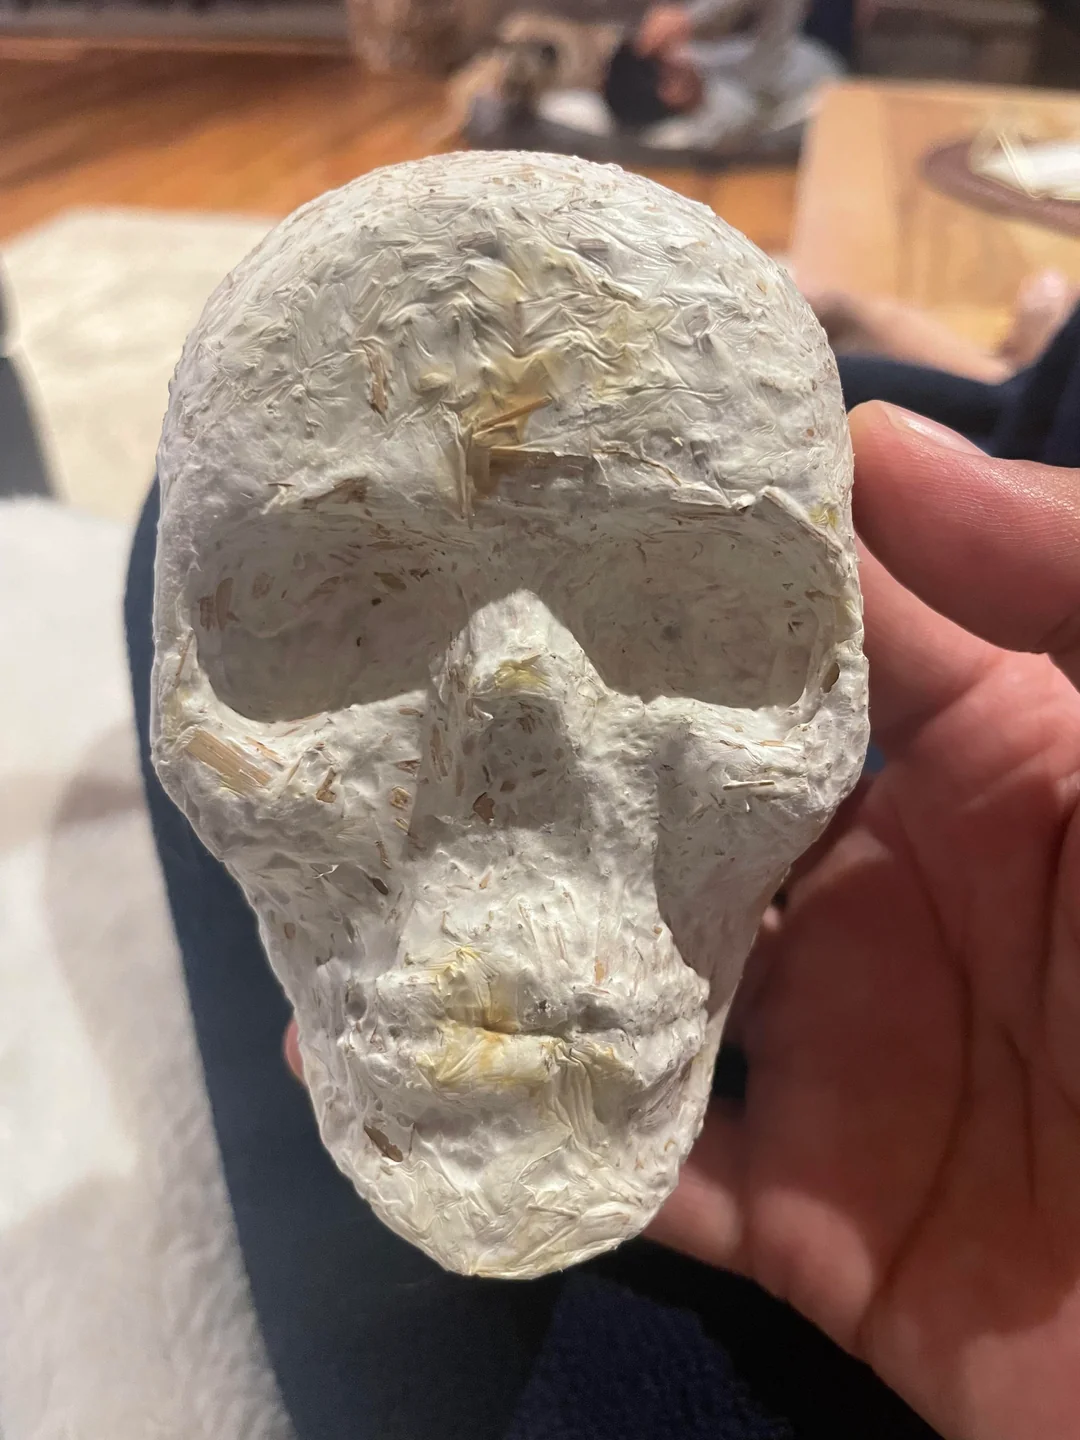
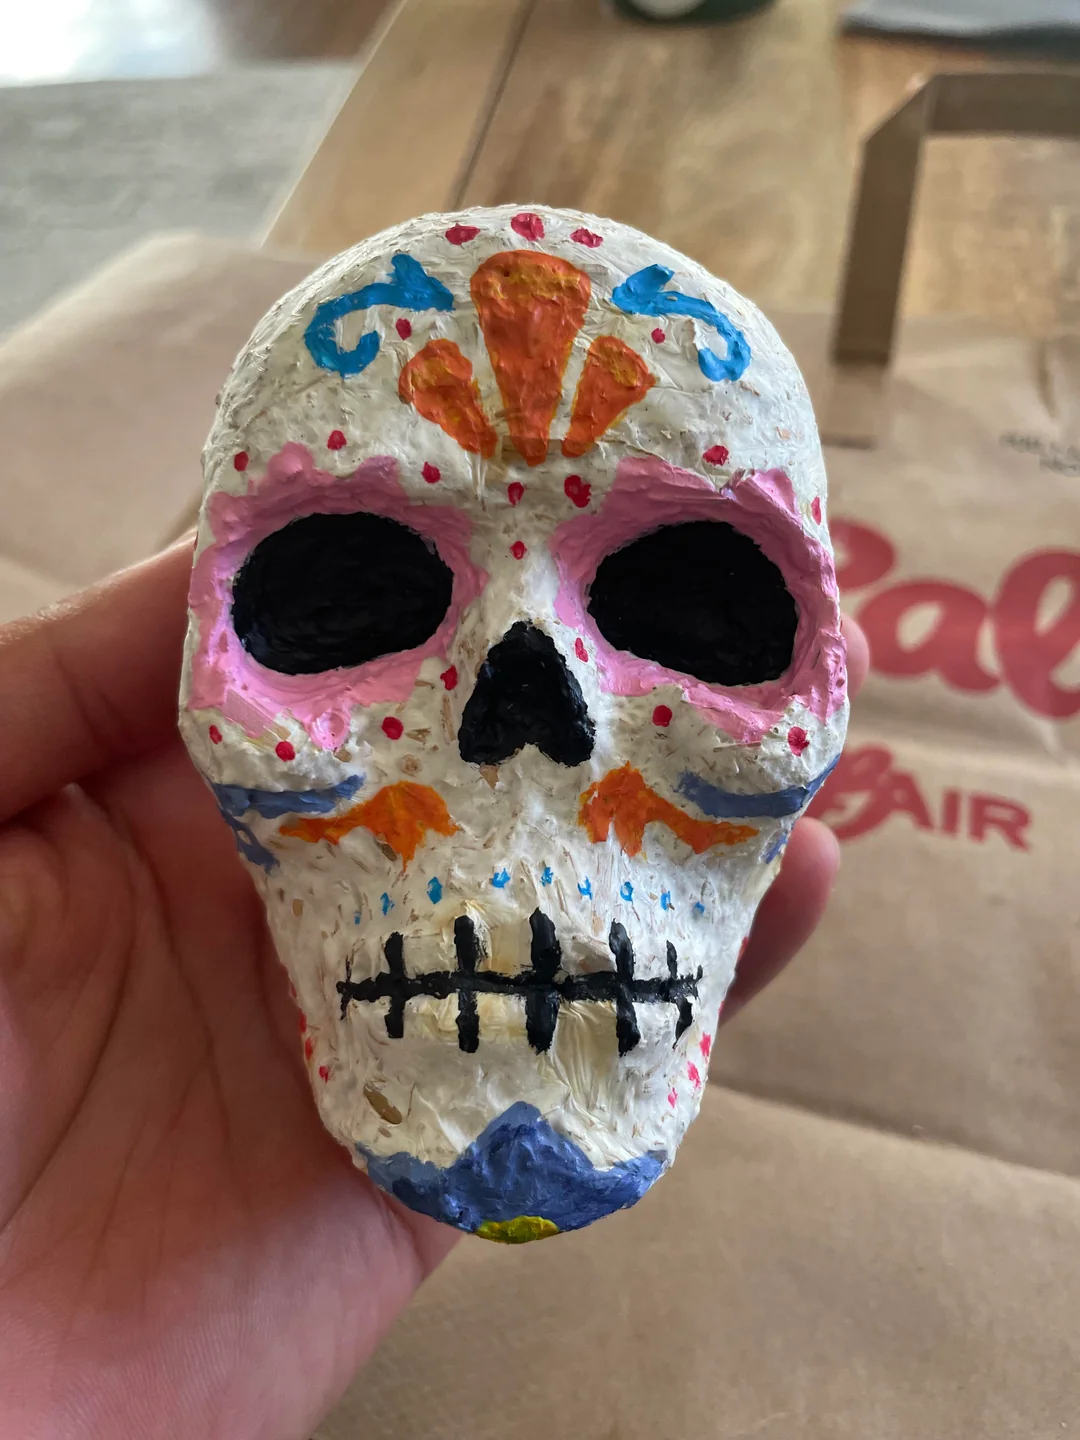
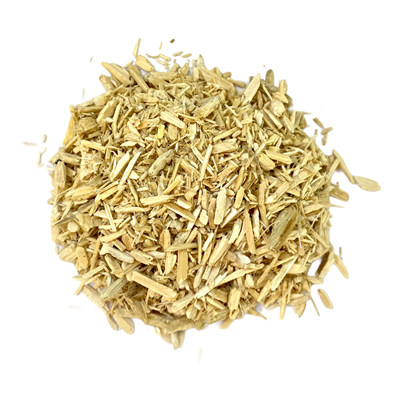

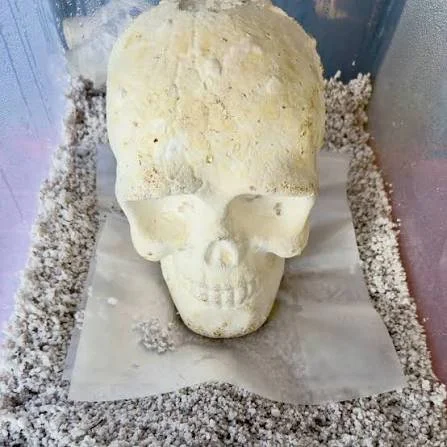
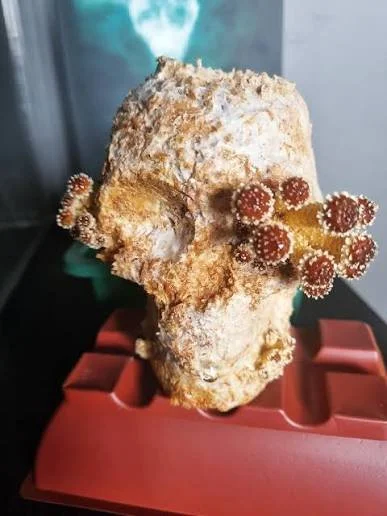


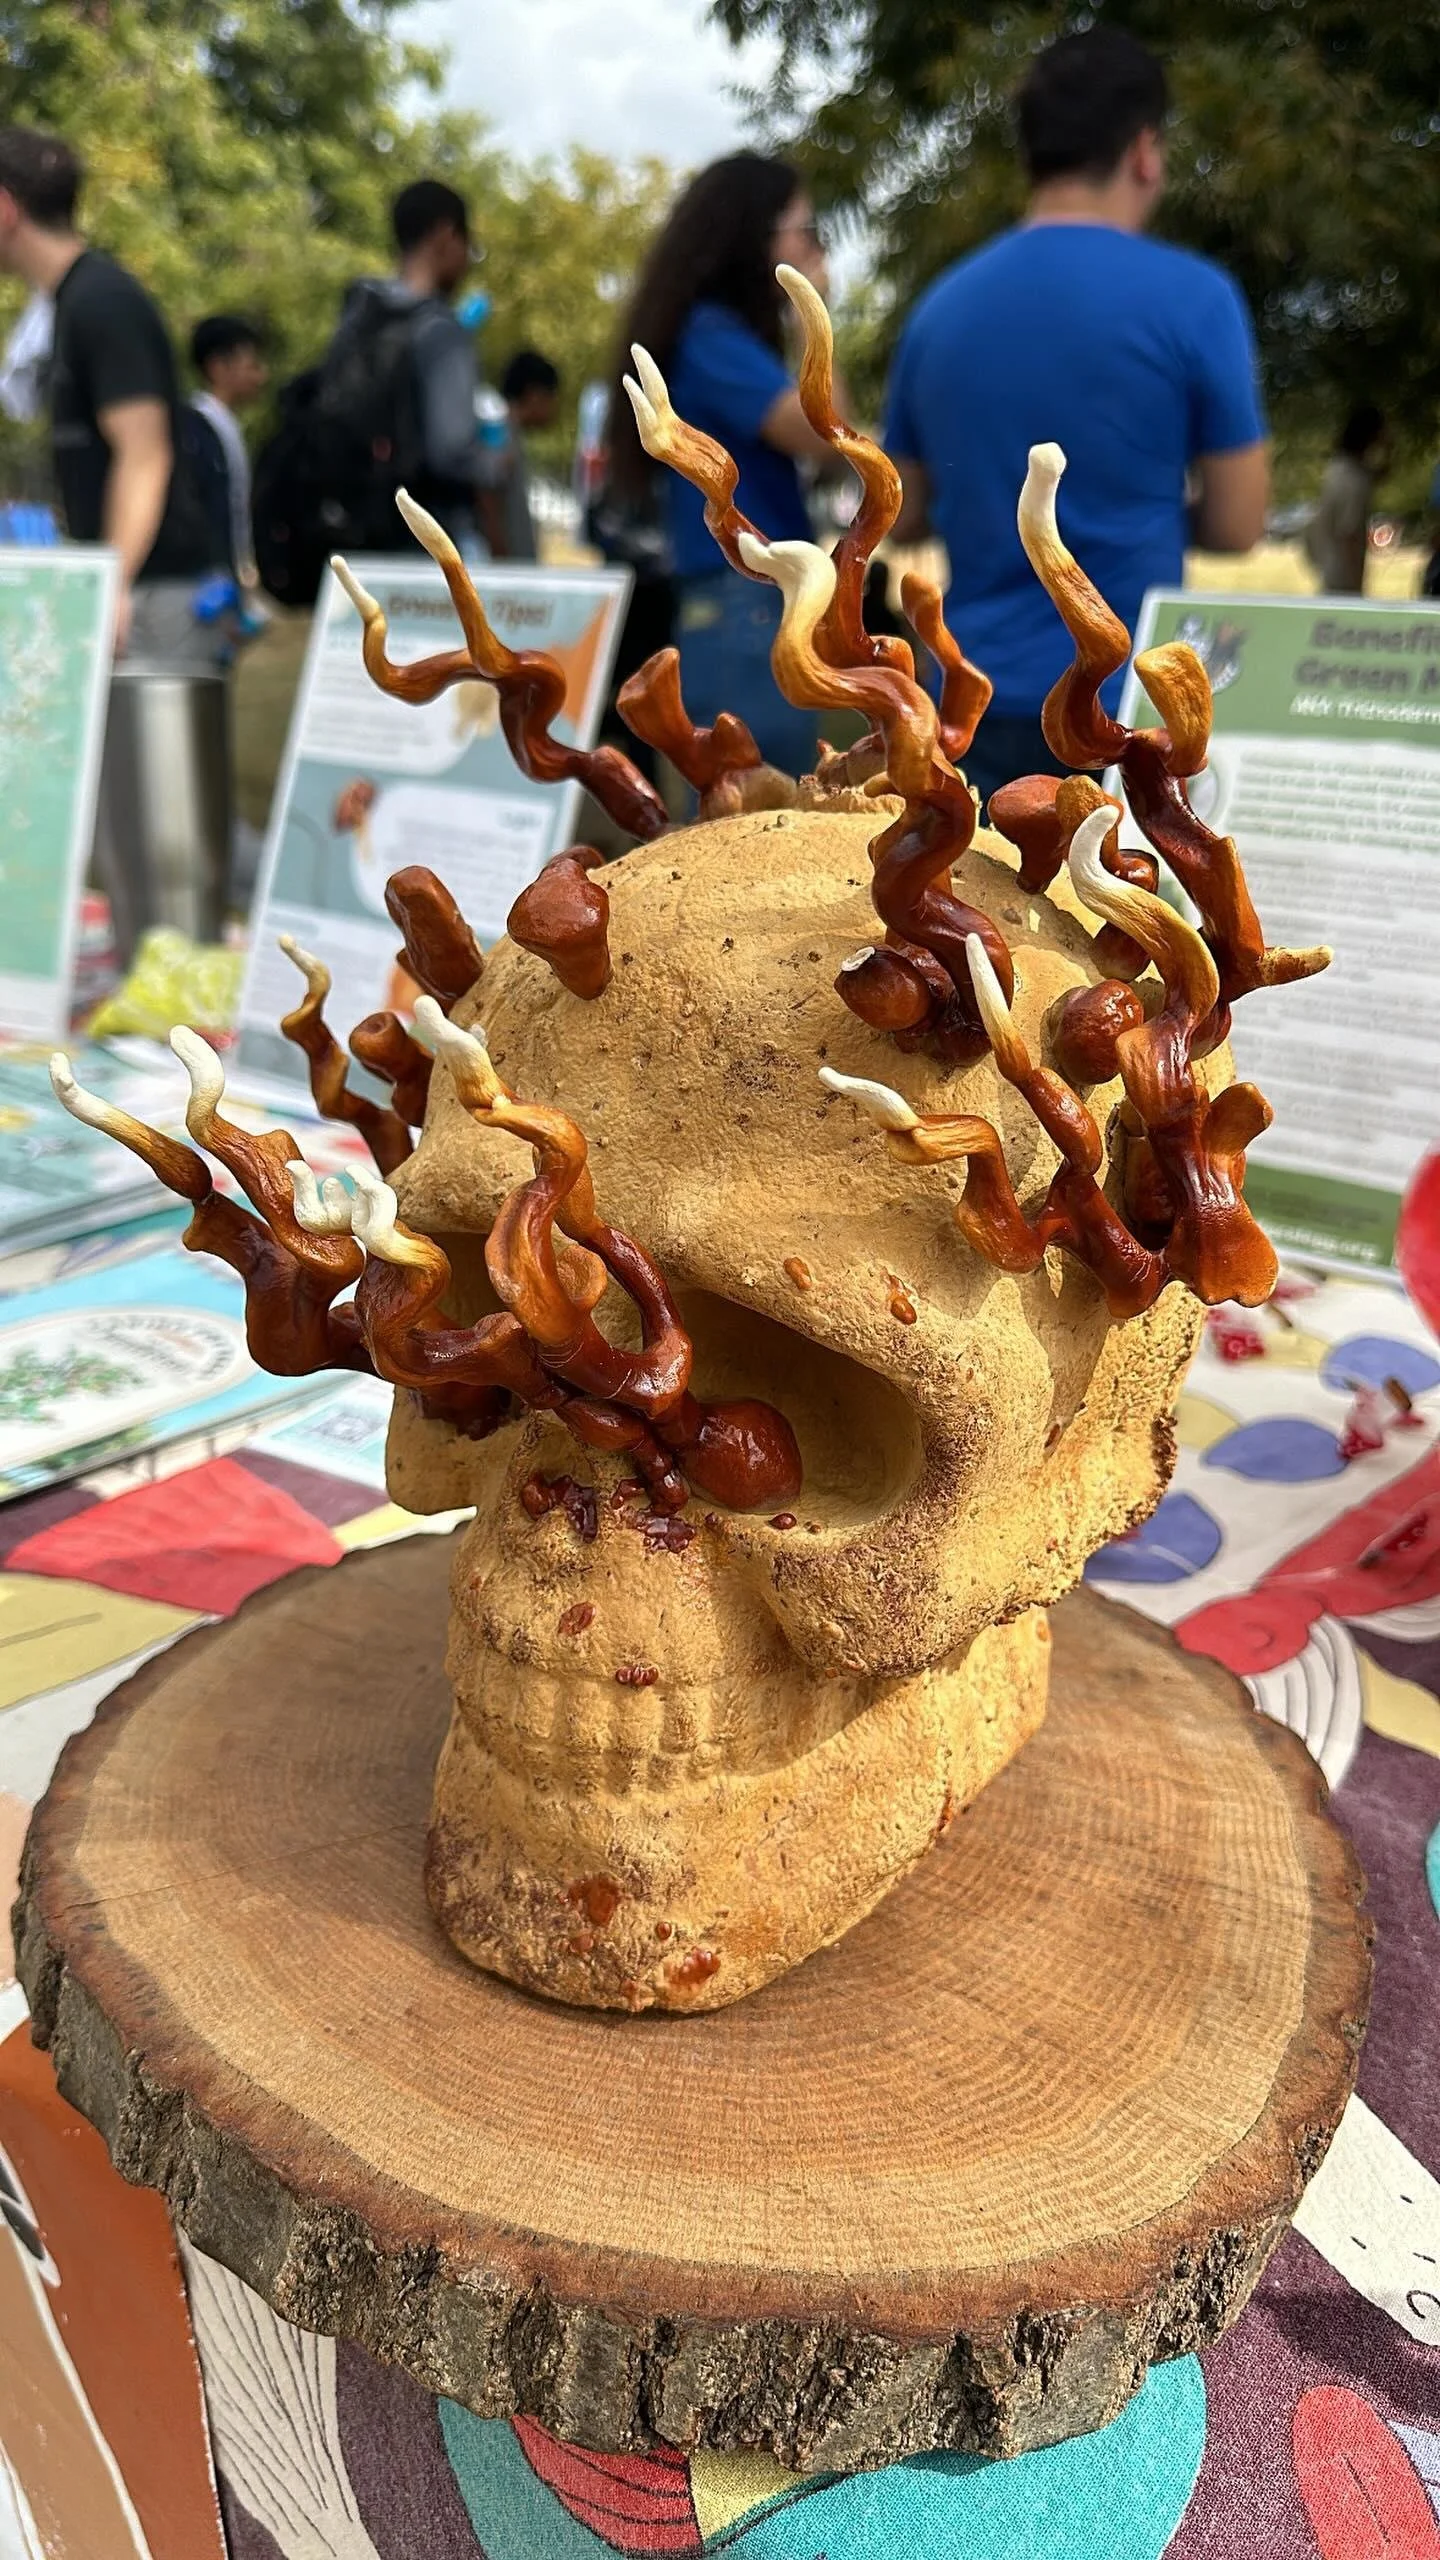
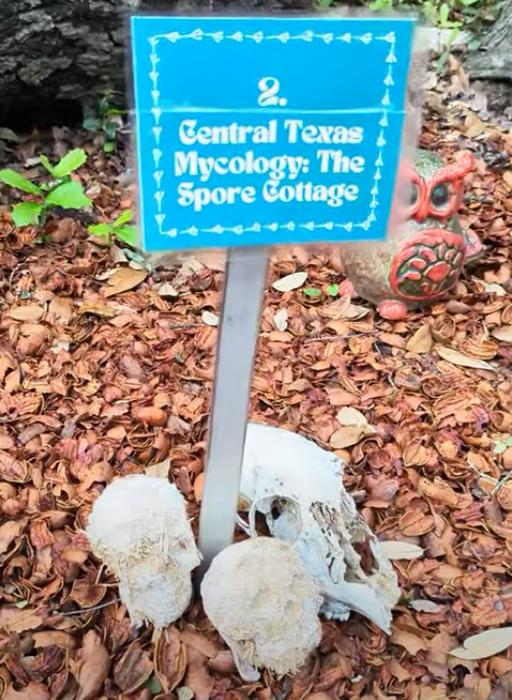
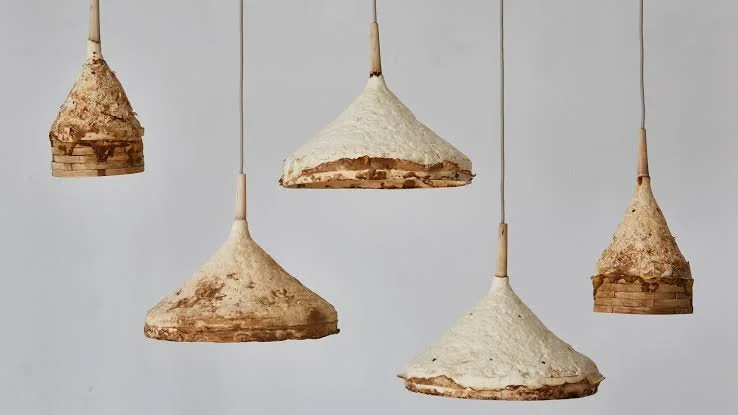


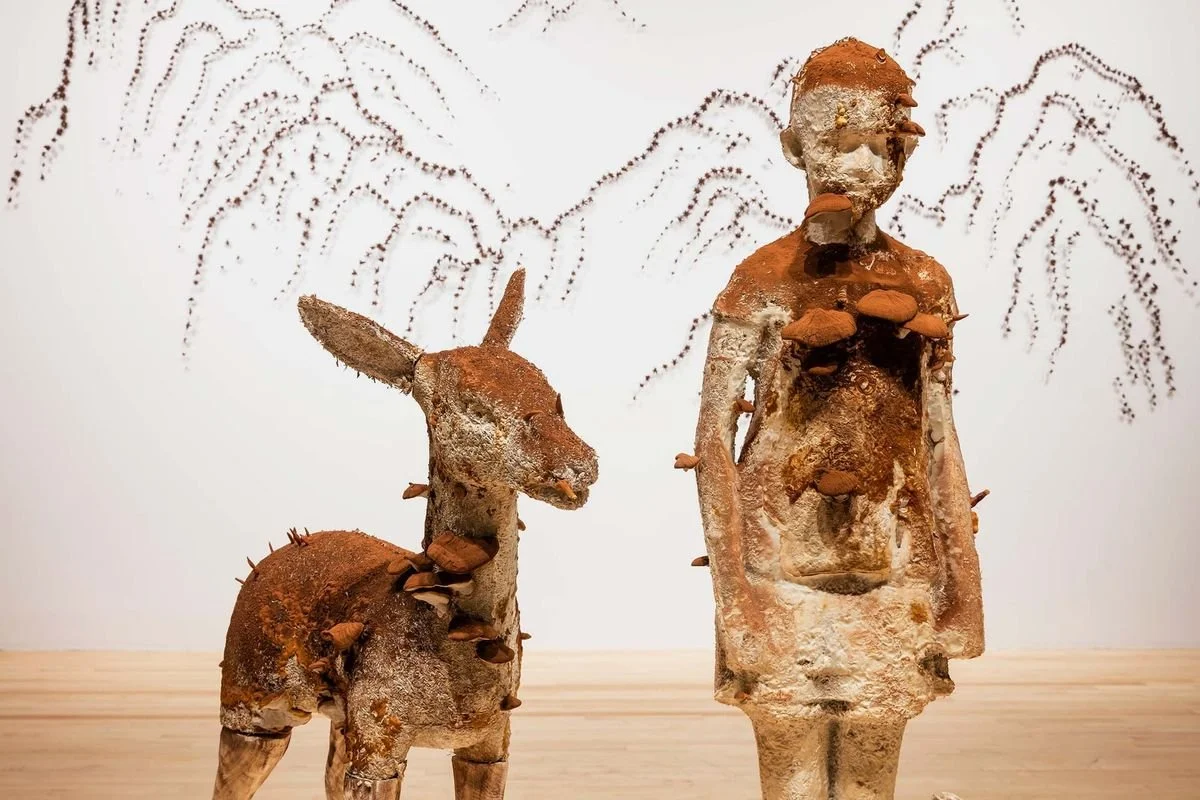
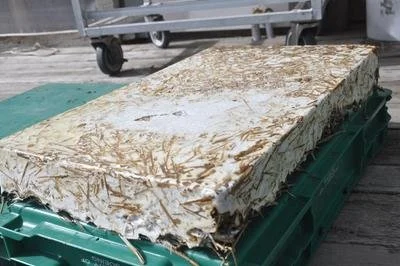
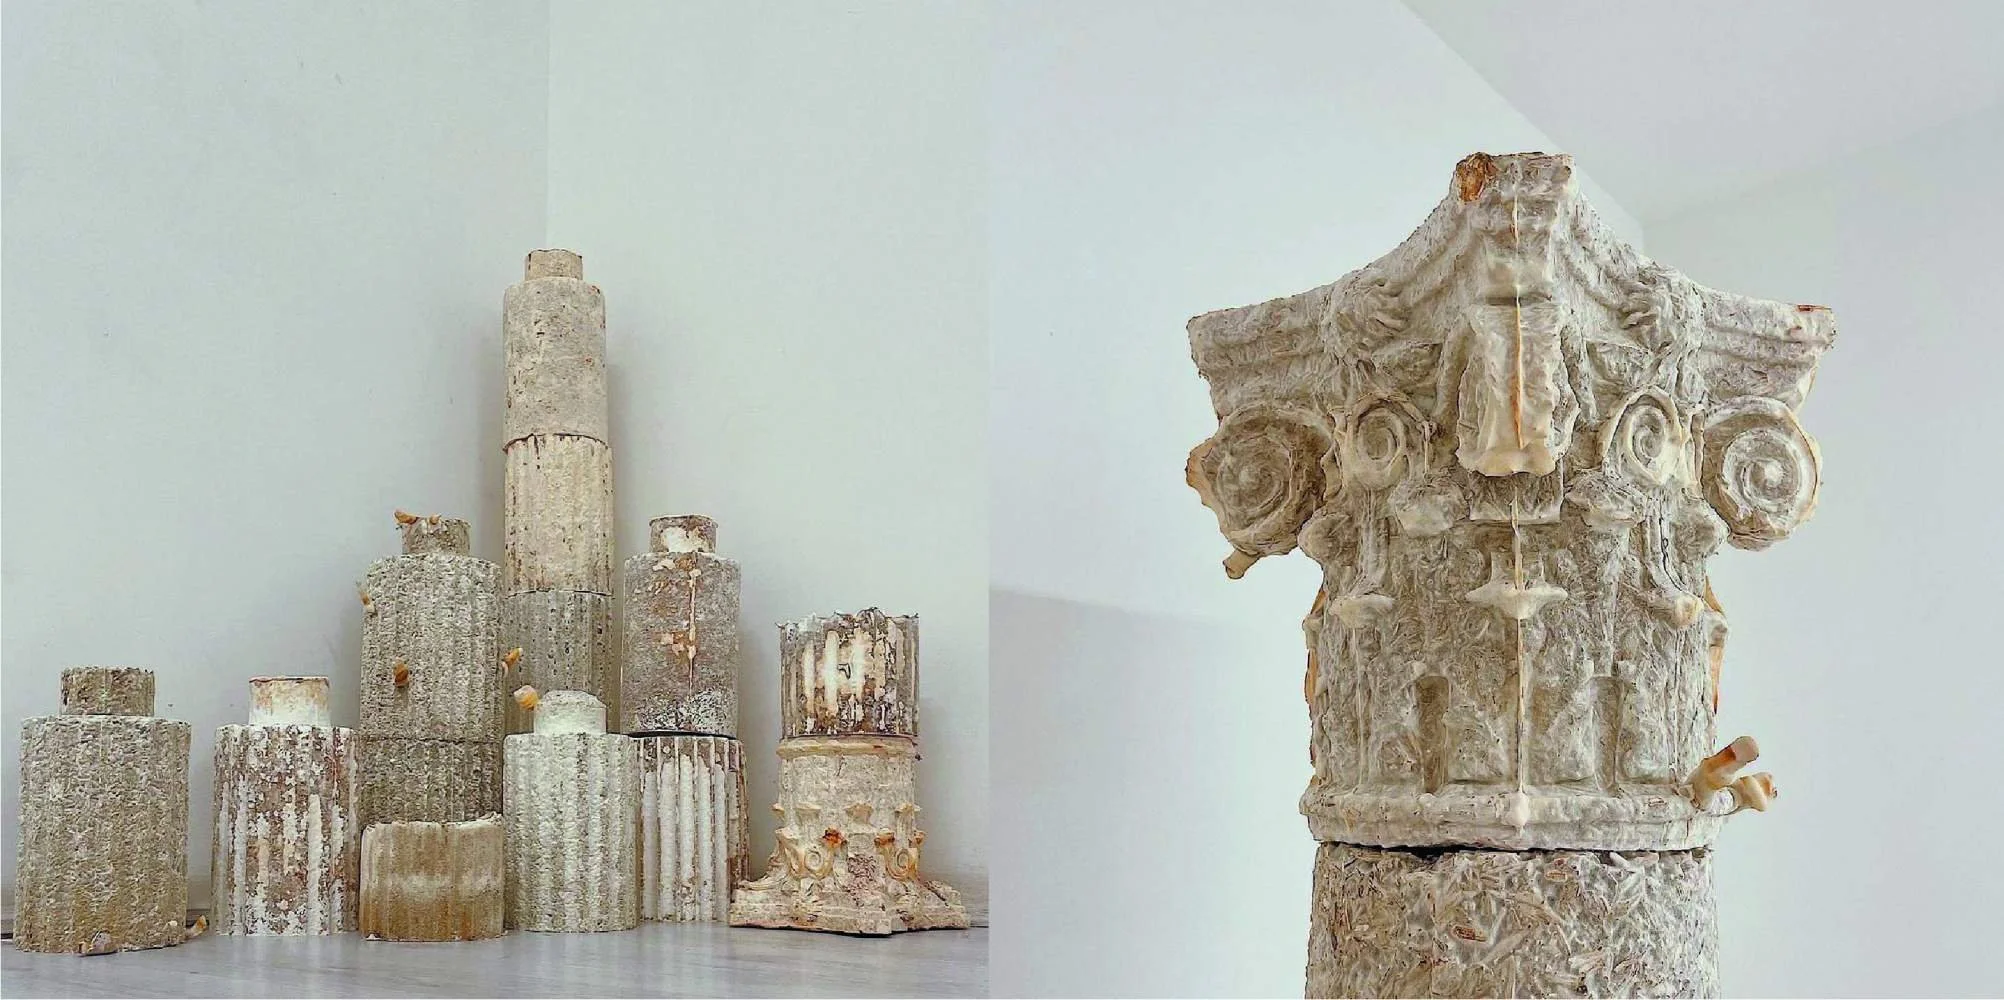
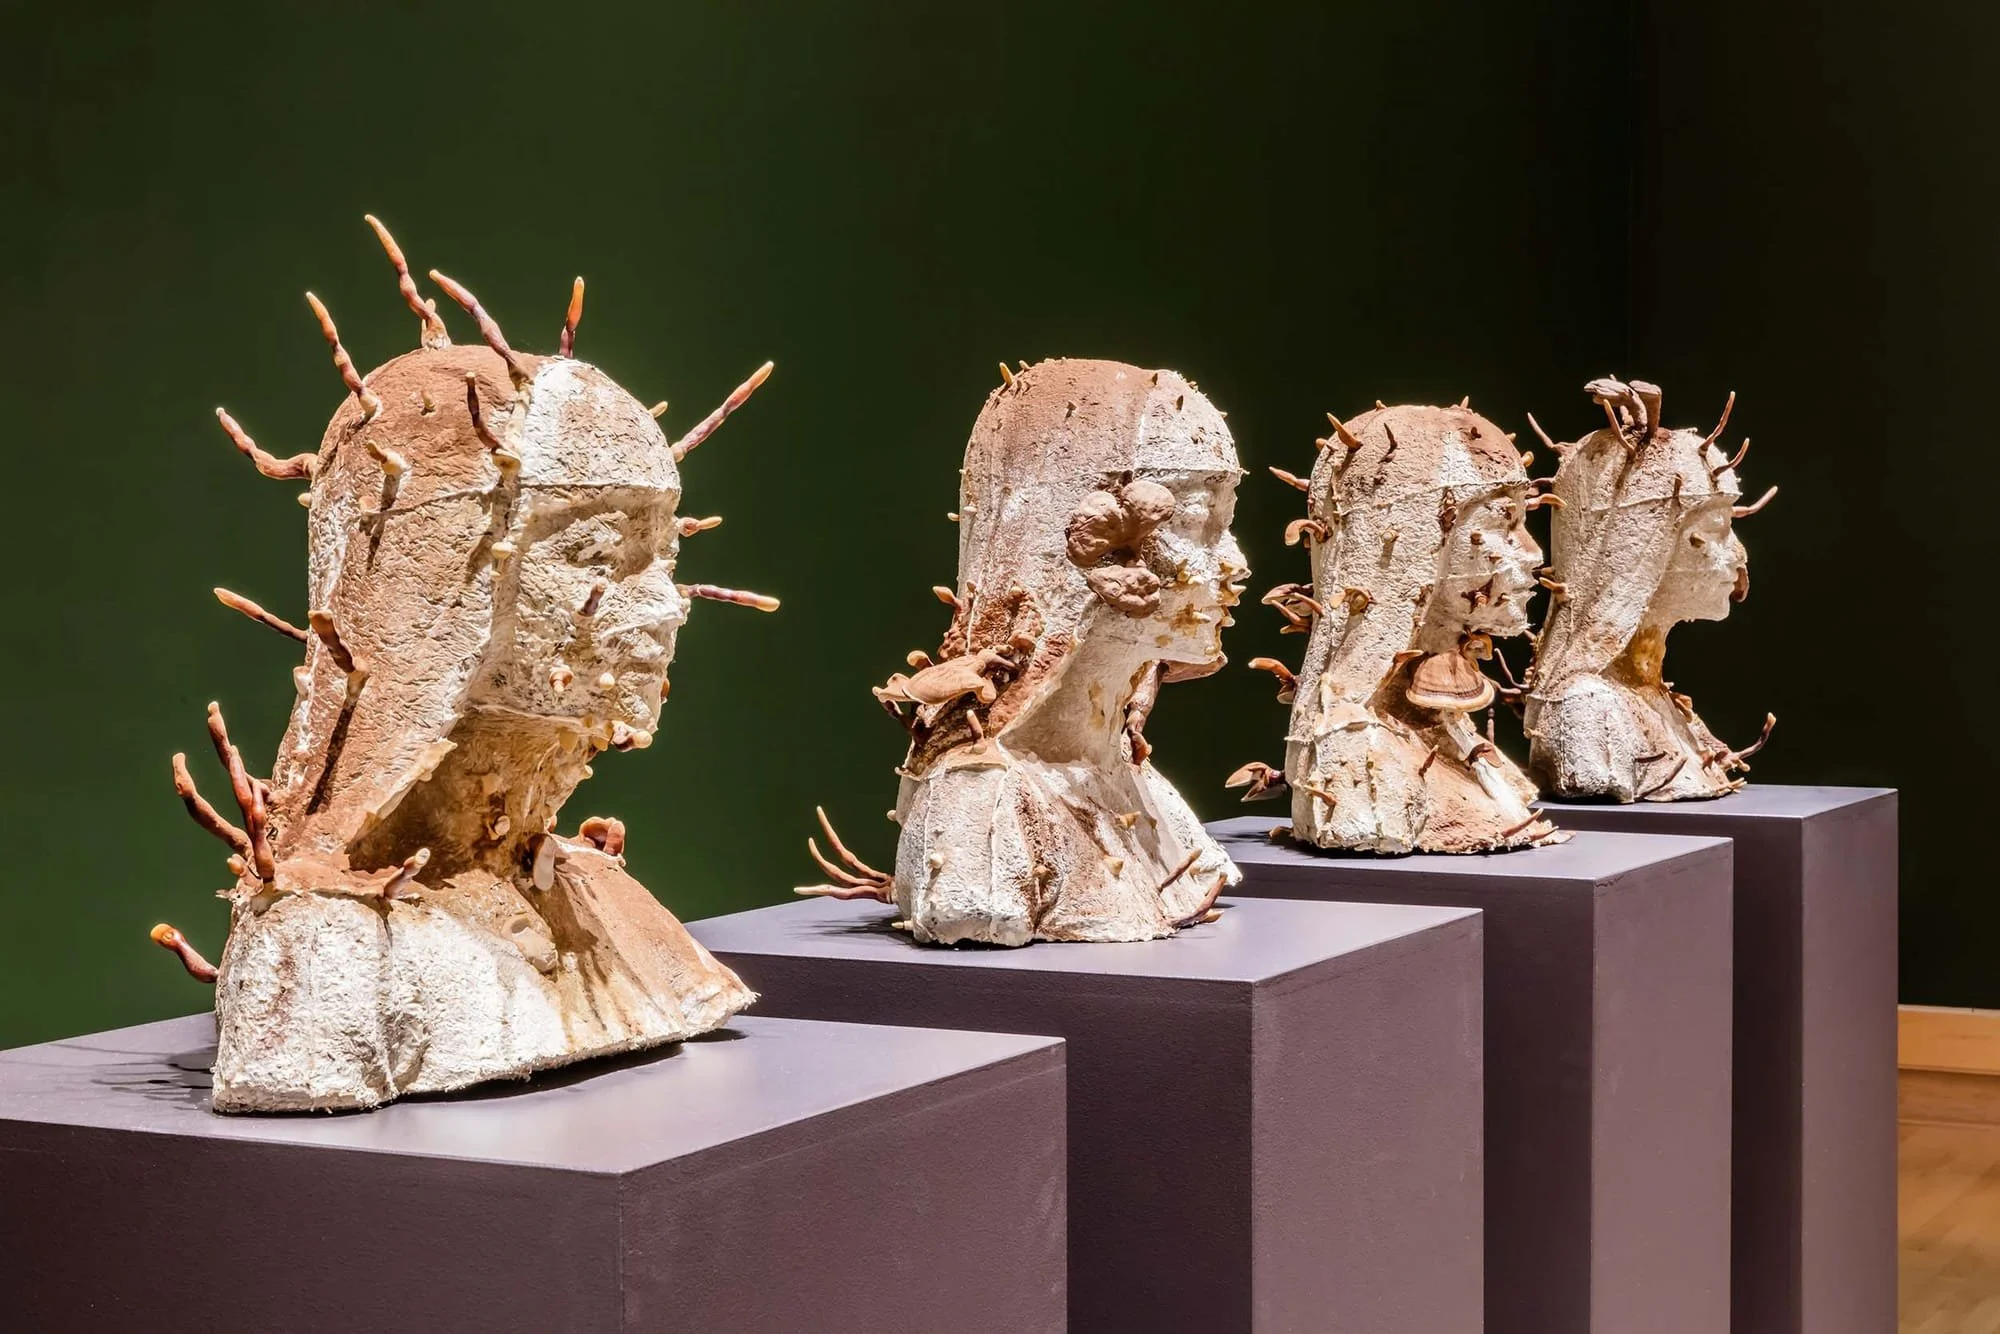
At our Mushroom Monday: Myco-Skull Workshop at Stargazer Cocktails and Coffee, we watched a room full of curious creatives, Halloween lovers, and fungi fanatics pack living mycelium into skull molds while sipping mushroom cocktails. The best part? Everyone left with all the materials to keeps growing a skull at home.
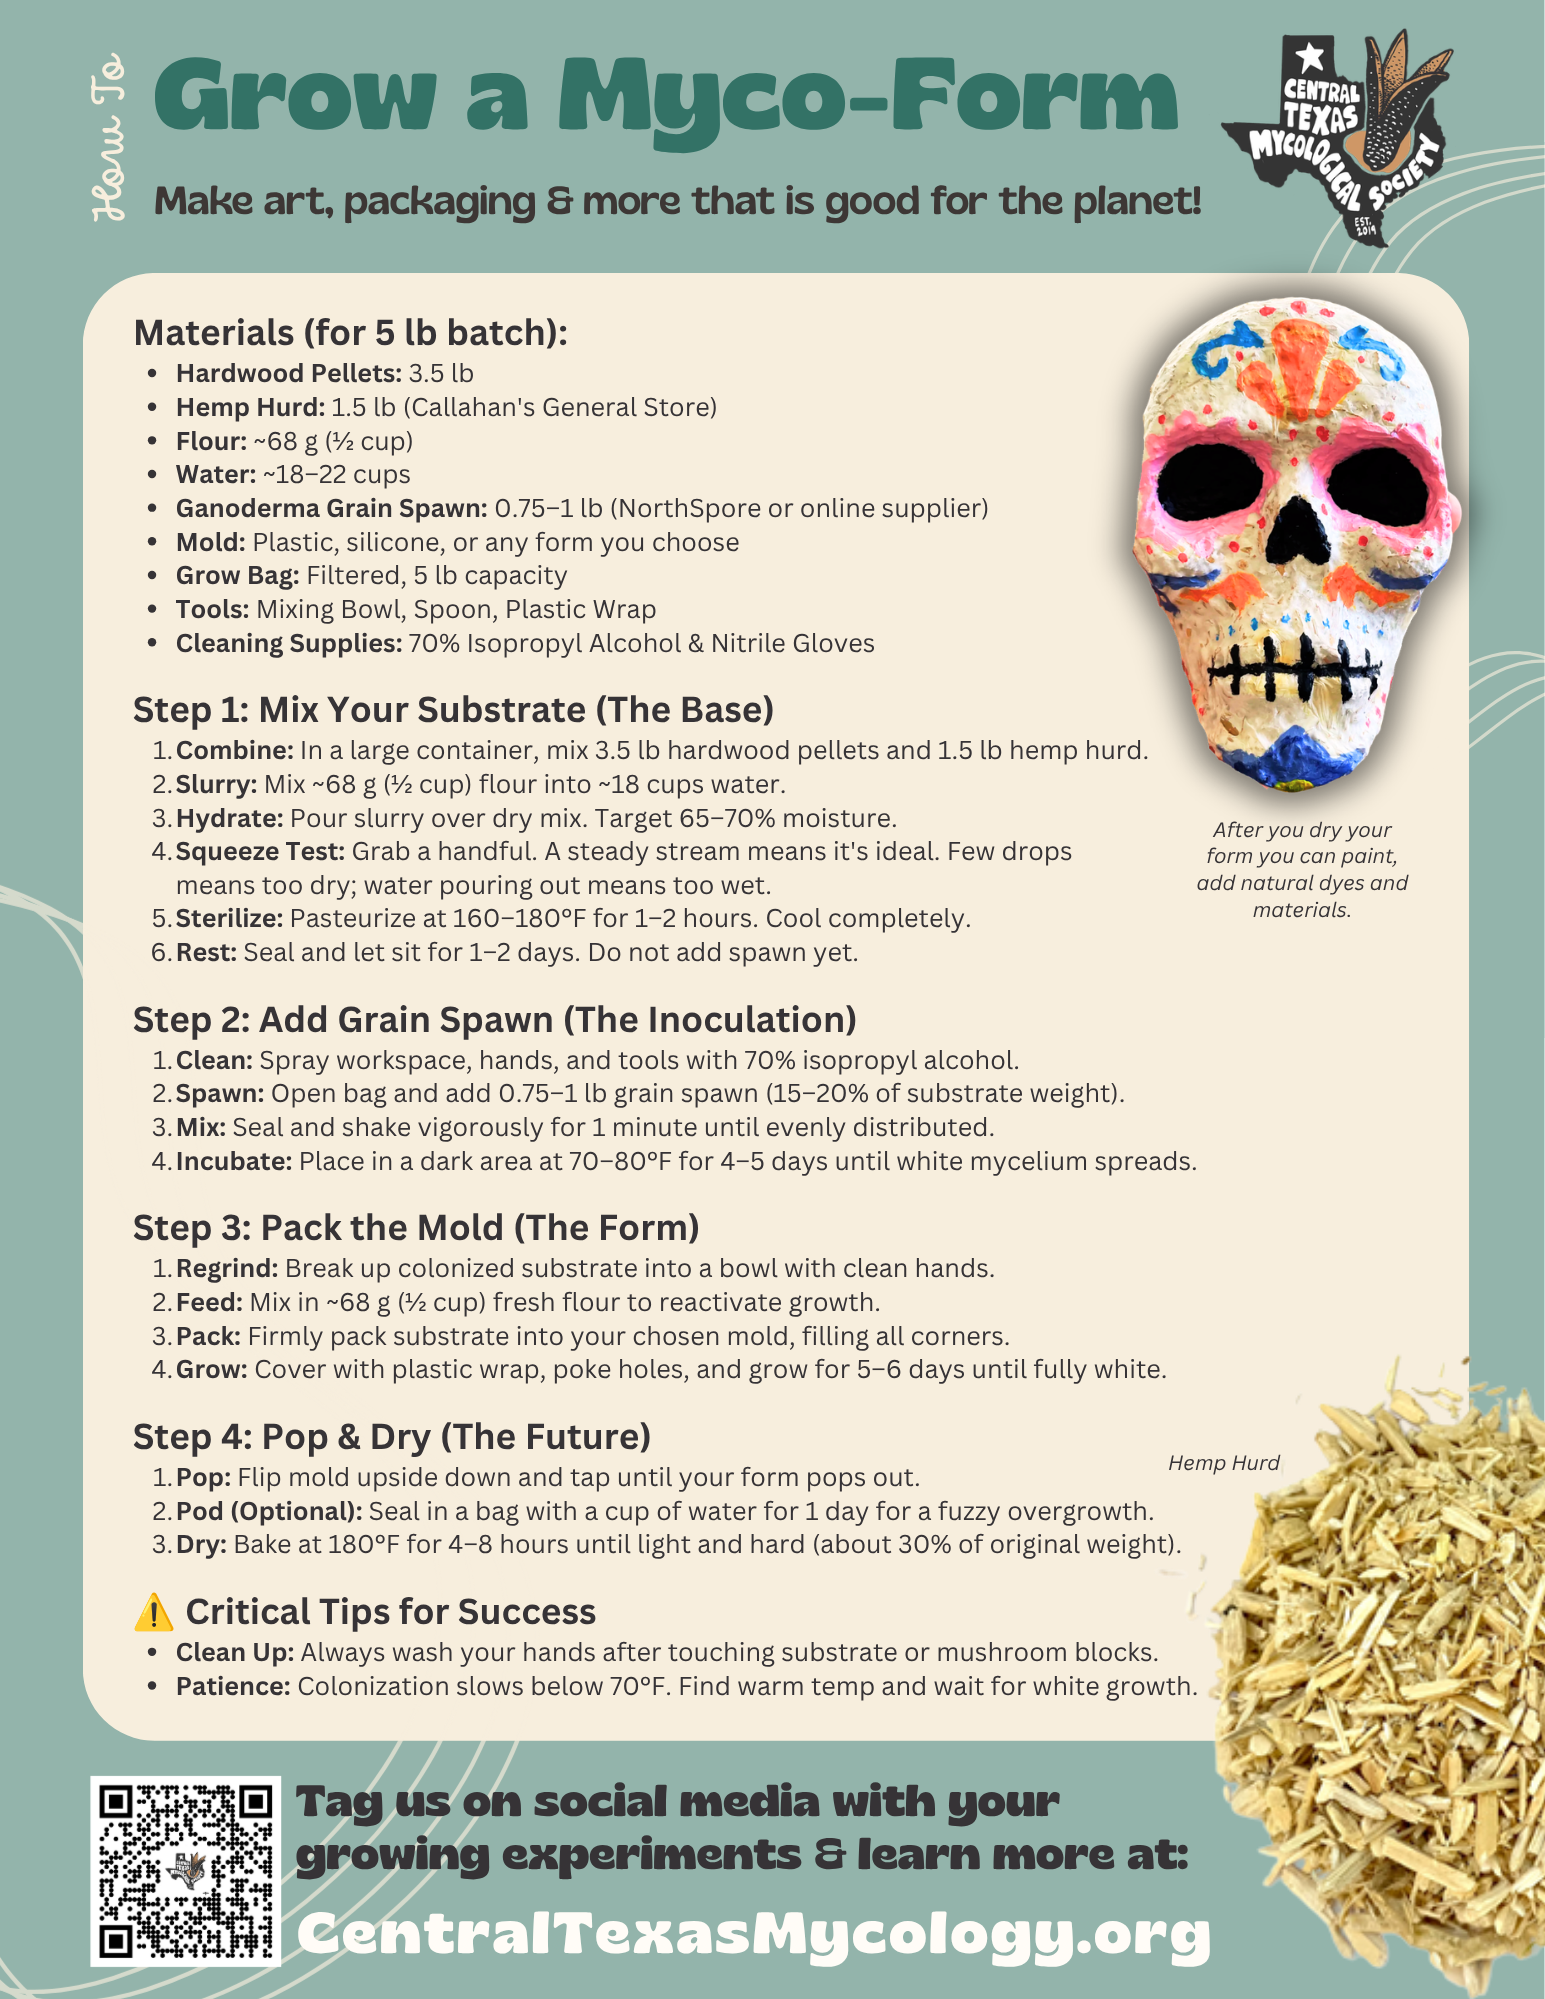
But we know not everyone could make it to the workshop. So here's the good news: you can absolutely do this at home. All it takes is a 5 lb bag of substrate, some grain spawn, a skull mold, and a little patience. This guide walks you through every step, from sourcing supplies to drying your finished skull just in time for spooky season.
What You'll Need
The Substrate (for one 5 lb batch)
Hardwood pellets — 3.5 lb — Hardware store, farm supply, or online
Hemp hurd — 1.5 lb — Callahan's General Store or online (sold as animal bedding in 12 lb bags for $27)
Flour — ~68 g (½ cup) — Your kitchen
Water — ~18–22 cups — Your tap
PRO TIP: If you are building a larger form (ie: canoe or coffin) use more hemp herds to make the form lighter. More hardwood pellets are better for smaller forms with tighter edges and detail.
The Spawn
Ganoderma grain spawn — 0.75–1 lb
Why Reishi? Ganoderma species are ideal for mycelium materials. They bind substrate firmly, resist contamination better than many other species, and create a dense, woody finished object. In Texas, Ganoderma sessile is native and heat-adapted — a great choice if you can find it. If you want your art to have antlers (see photos above) use Ganoderma multipileum. We used Gandoderma lucidum grain spawn from North Spore. You can find a diverse amount of genetics online.
The Mold and Tools
Skull mold — plastic or silicone, reusable (Feel free to use this recipe for any mold).
Filtered grow bag — 5 lb capacity or larger (Hack: Use large freezer bag and polyfill as a filter)
Large Mixing bowl — large enough for 5 lb of substrate
Plastic wrap or lid
Baking sheet — for drying
70% isopropyl alcohol — for cleaning
Nitrile Gloves — for keeping things sterile
Step 1: Mix Your Substrate
Combine Dry Materials
In a large container, mix:
3.5 lb hardwood pellets
1.5 lb hemp hurd
Break up any clumps. If your pellets need hydration to expand, follow the manufacturer's instructions first.
Add Flour and Water
Mix ~68 g (½ cup) flour into ~18 cups water to make a slurry.
Pour the slurry over the dry mix.
Moisture target: 65–70% by wet weight.
Squeeze test: Grab a handful and squeeze firmly.
Few drops only → too dry (around 50–55%)
Steady stream and substrate holds together → ideal (65–70%)
Water pours out → too wet (75%+)
Start with 2–3 cups less water than the target. Mix, let rest 10–15 minutes, then add more as needed. Hardwood and hemp absorb water at different rates.
Seal and Shake
Seal your container or grow bag. Shake or mix for 1 minute to hydrate thoroughly.
Sterilize
Sterilize your hydrated substrate using your preferred method. If you don't have a pressure cooker, pasteurization (holding substrate at 160–180°F for 1–2 hours) is sufficient for Reishi on hardwood and hemp.
Cool and Store
Allow substrate to cool completely. Seal tightly. Store at room temperature, away from direct sunlight. Use a
Do not add grain spawn yet. Let the substrate rest for 1–2 days to stabilize.
Step 2: Add Grain Spawn
Clean Your Workspace
Spray your work surface, hands, and tools with 70% isopropyl alcohol. Wear gloves.
Add Spawn
Open your substrate bag above the filter patch.
Add 0.75–1 lb grain spawn — roughly 15–20% of substrate weight.
Mix Thoroughly
Seal the bag and shake vigorously for 1 minute. Every grain should be distributed evenly.
Seal and Label
Reseal tightly above the filter patch. Label with the date and species.
Incubate
Place the bag in a clean, dark area at 70–80°F.
Let it grow for 4–5 days until you see visible white mycelium spreading through the substrate. The substrate should still be loose and crumbly, not hardened.
Step 3: Pack Your Skull Mold
Break Up the Material
Open your colonized bag and dump the substrate into a large bowl.
Break up all chunks with clean hands. This is called "regrinding."
Add Fresh Flour
Mix in ~68 g (½ cup) flour. This provides fresh nutrition and reactivates the mycelium for vigorous growth in the mold.
Mix well for 1 minute. Drizzle a little extra water if the mix feels dry.
Pack the Mold
Add substrate to your skull mold. Pack down firmly as you add layers.
Fill corners and edges completely. Air pockets create weak spots.
Place a sturdy flat sheet on top and tap all over to smooth the fill surface.
Grow for 5–6 Days
Cover the mold with plastic wrap or a lid. Poke a few small holes for respiration.
Grow until fully white again in a clean area at 70–80°F, out of direct sun.
Step 4: Pop, Pod, and Dry
Pop
Flip the mold upside down. Tap until the grown skull "pops" out.
Pod (Optional)
Seal the skull in a roomy plastic bag with a cup of water. Grow for 1 day to create a white, fuzzy overgrowth on the mycelium.
Dry
Place the skull on a baking sheet.
Dehydrate at 180°F for 4–8 hours, checking every 30 minutes until dry.
The skull is ready when it feels light and hard — roughly 30% of its original weight.
Tips for Success
Start with less water. You can always add more, but it's hard to remove excess moisture. The squeeze test is your final guide.
Keep it clean. Work with clean hands and tools. Reishi is contamination-resistant, but cleanliness always helps.
Warmth matters. Colonization slows dramatically below 70°F. Find a warm spot — on top of the fridge, near a heater, or in a closet.
Patience pays off. Don't rush the colonization phases. Let the mycelium fully white before moving to the next step.
Flour is your friend. Adding fresh flour at the mold-packing stage reactivates the mycelium and ensures vigorous growth.
Join Us at the Next Workshop
Want to learn hands-on? Join us for Mushroom Mondays at Stargazer Cocktails and Coffee. We'll walk you through the process, provide all materials, and send you home with a living skull kit and a mushroom cocktail in hand.
Follow us for upcoming events, foraging walks, and more ways to connect with fungi.
Happy growing — and happy spooky season.
This guide is adapted from the Ecovative GIY protocol.