How to Make Paper from a Spent Mushroom Block
Introduction

We’re always looking for creative ways to close the loop in our fungal lifecycle. One of our favorite projects is transforming spent mushroom blocks into unique, fibrous handmade paper. Spent substrate—the leftover sawdust or straw after mushrooms have fruited—is often rich in mycelium and cellulose, making it a perfect, sustainable base for papermaking.
Mushroom paper, also known as mycelium paper or fungal paper, is an innovative, sustainable material made from the root-like structure of mushrooms (mycelium). It’s biodegradable, surprisingly durable, and has a unique, organic texture.
This guide walks you through the simple process of turning what could have been organic waste “spent mushroom substrate”, into beautiful, textured paper for art, journaling, or gifts.
Why Make Paper from Spent Substrate?
Zero Waste: Repurpose your spent blocks from our Community Supported Mushroom Block Rescue into something new.
Eco-Friendly: Reduce your footprint by avoiding new paper pulp.
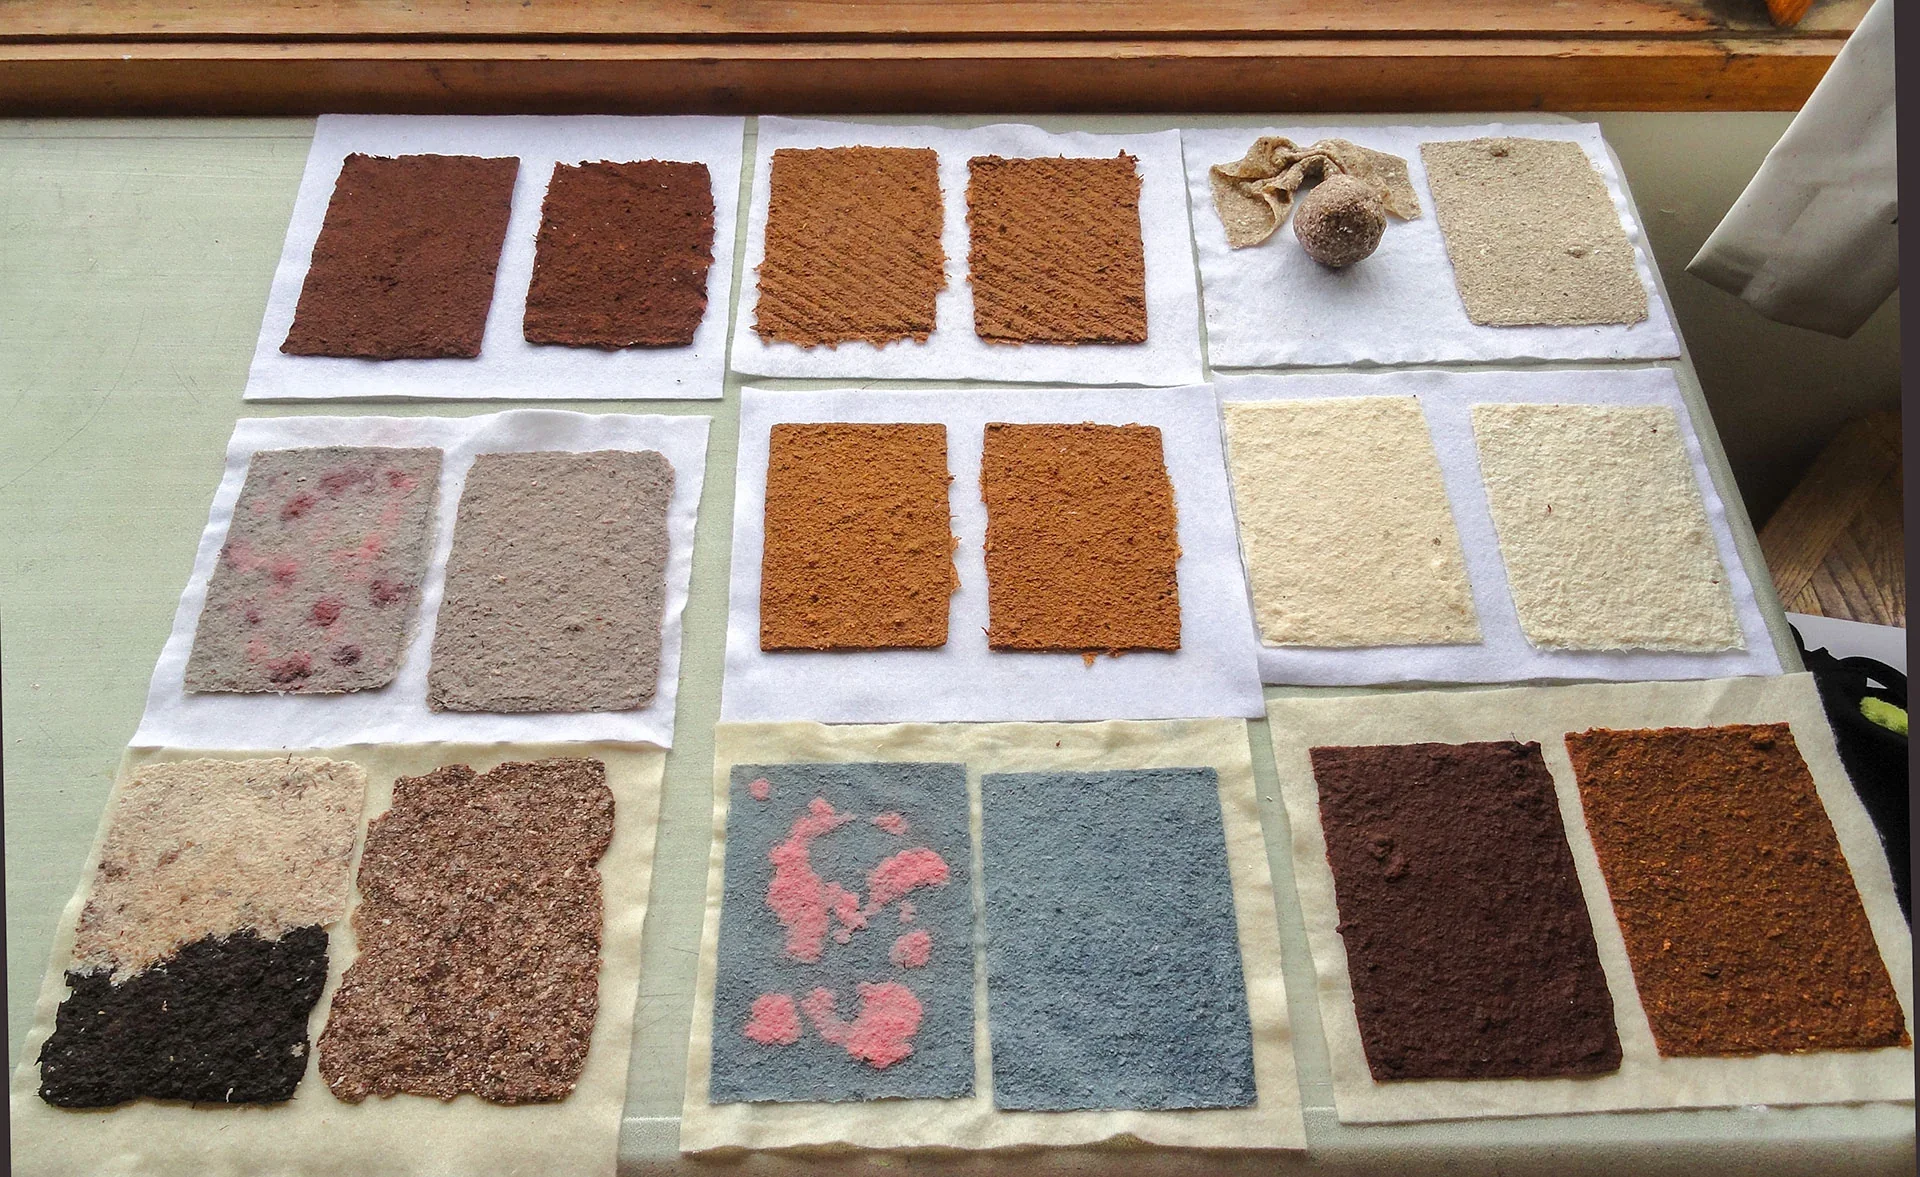
Unique Texture: The mycelium and organic matter create beautifully textured, speckled paper with a story.
Educational Fun: A perfect activity —combining mycology, art, and hands-on science.


What You’ll Need
Most of these supplies can be found around the house or at local Austin shops like Austin Creative Reuse.
Materials:
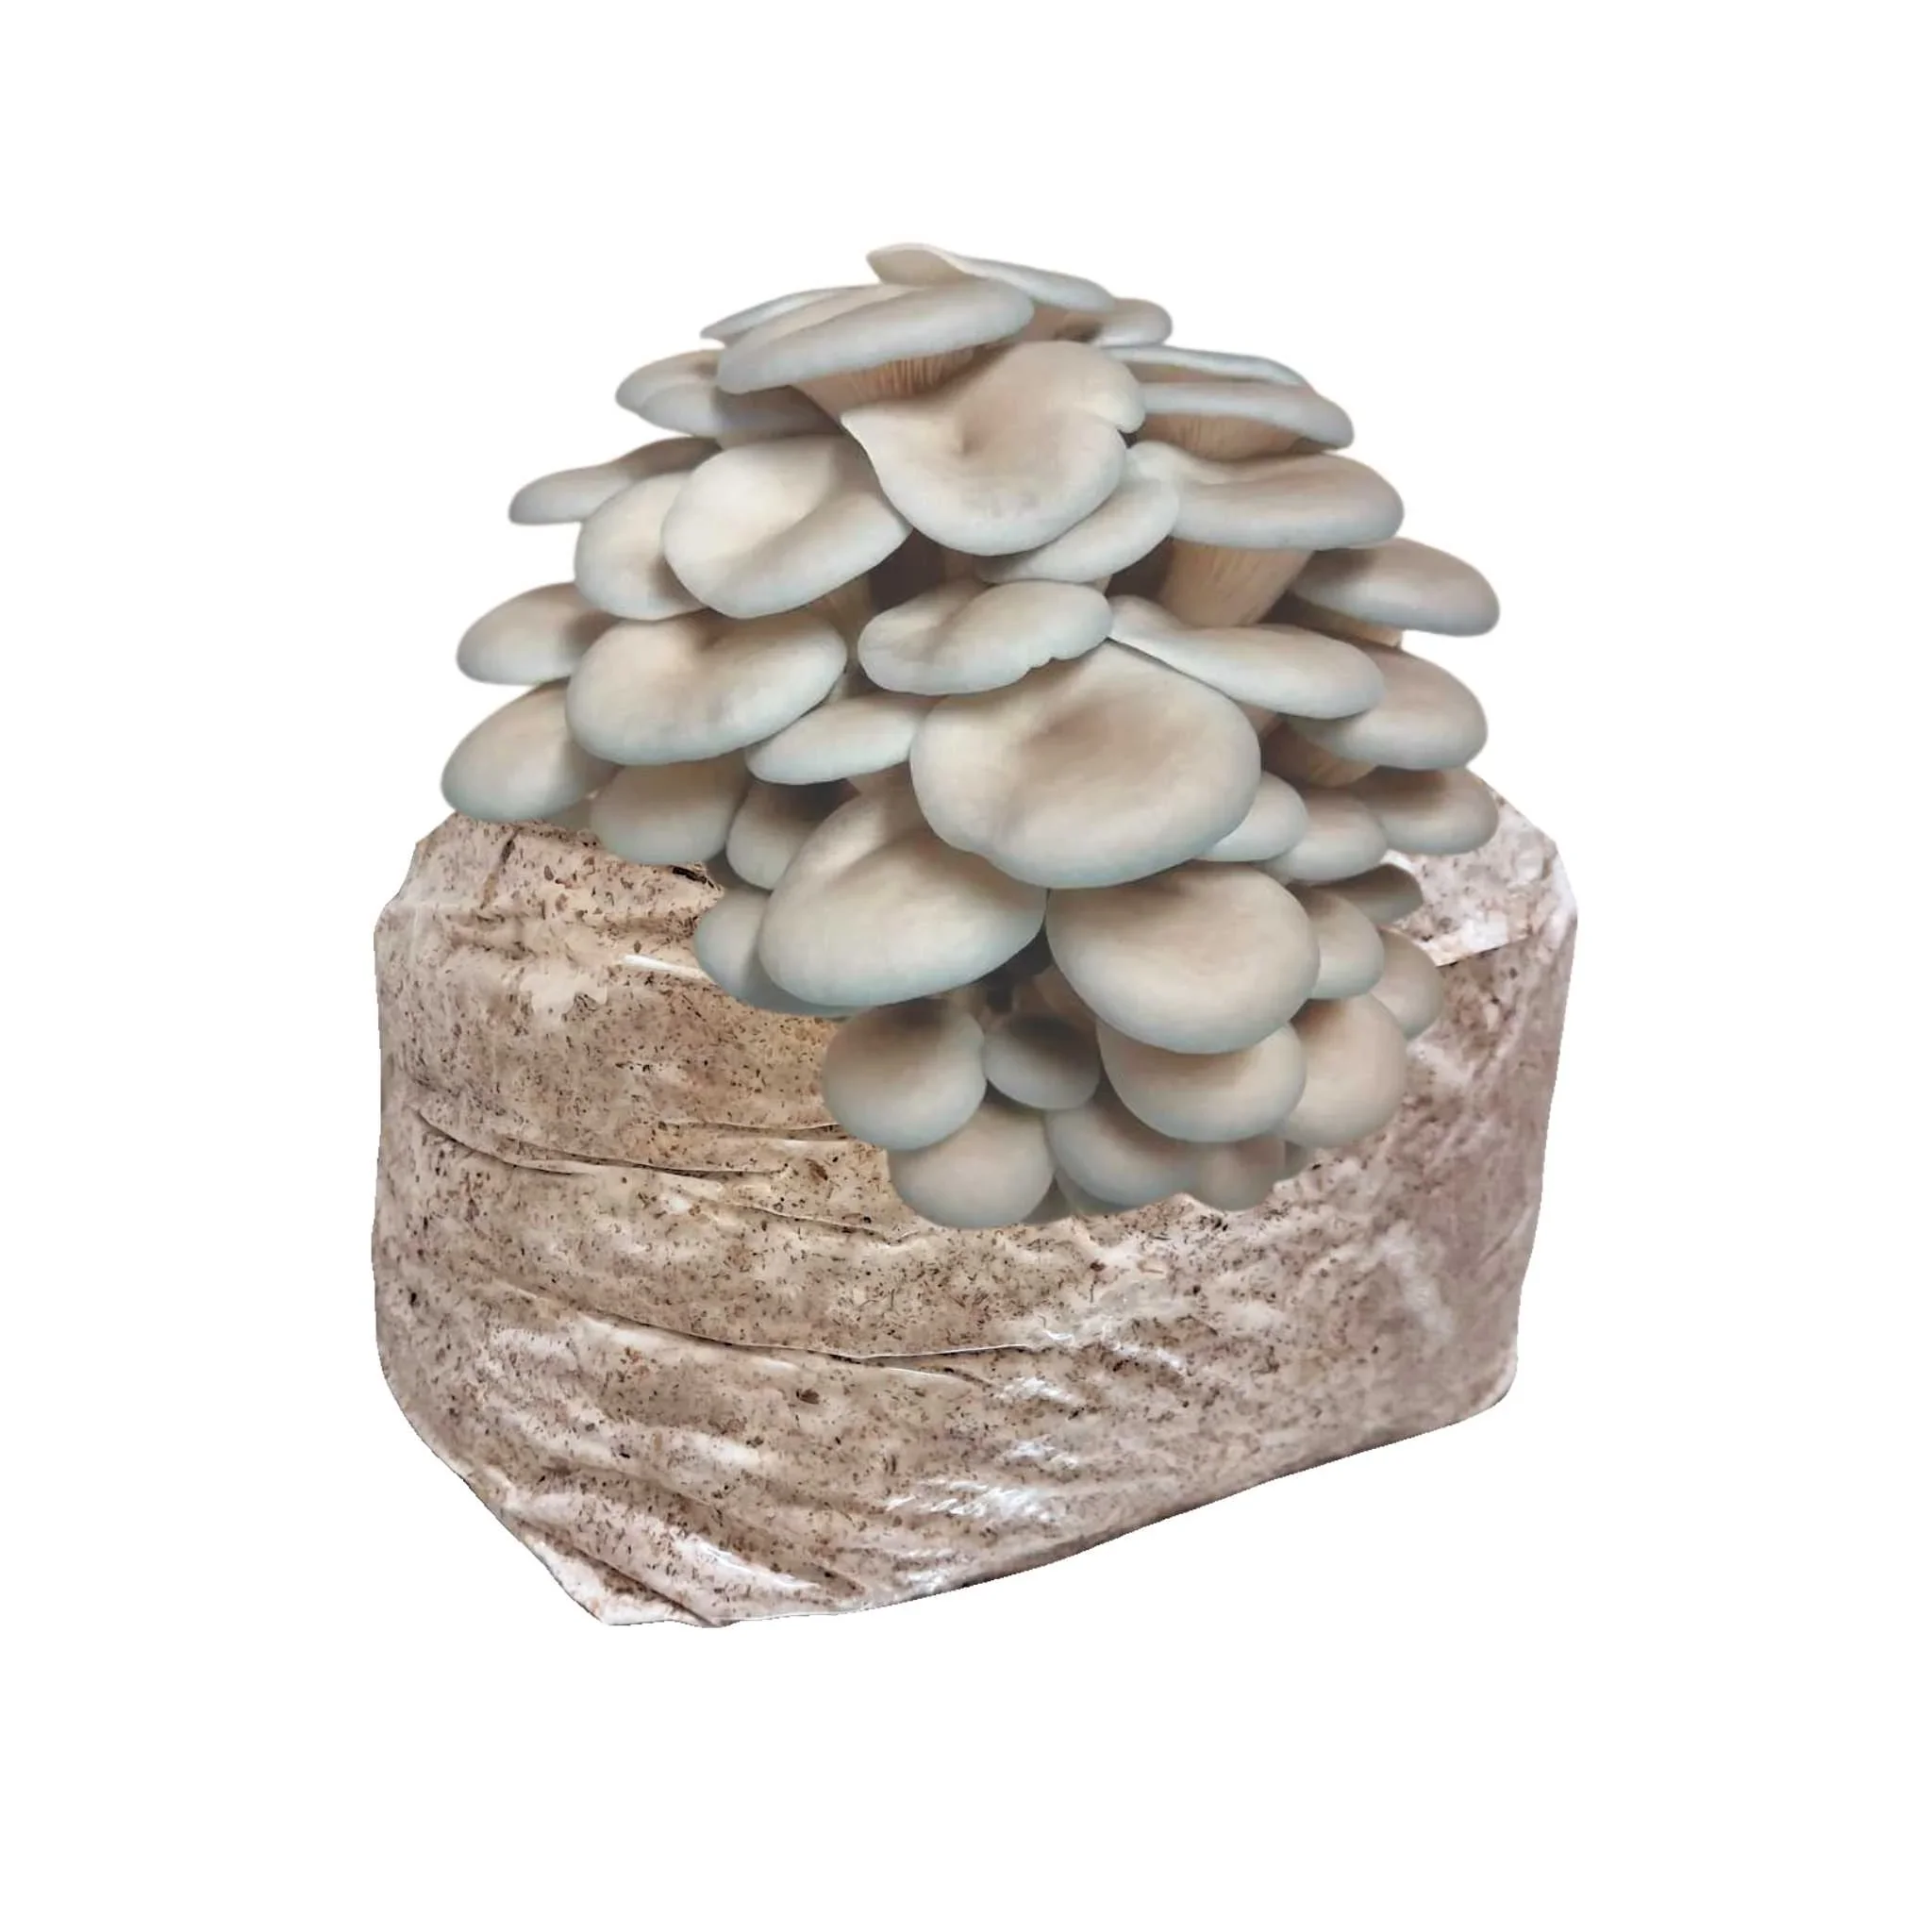
Spent mushroom substrate – from your own grows or rescued via our Block Rescue Program. Oysters are the most common and best variety to use.
Blender or food processor (dedicated to crafting)
Large plastic tub or basin
Mold and deckle – the classic papermaking screen set. You can make one by stretching fine mesh (like window screen) over two wooden frames of identical size.
Couching cloths – felt, smooth towels, or pillowcases
Sponges
Pressing boards or heavy books
Optional add-ins: recycled paper scraps, dried flowers, native seeds, or natural dyes made from foraged plants
Step-by-Step Process
Step 1: Get a Mushroom Block
Break up your spent oyster mushroom block. Remove any large chunks of undecomposed wood or moldy parts. This material is great for the compost.
Soak the substrate in warm water for a few hours to soften the mycelium and fibers.
Step 2: Make Pulp
Drain the substrate and add it to your blender in small batches.
Cover with clean water and blend until you achieve a slurry with a fine, fibrous consistency. Think “fungal smoothie.”
Step 3: Prepare Slurry
Pour the pulp into your large tub and mix with more water. The more pulp you add, the thicker your paper will be.
Step 4: Form Sheets
Submerge your mold and deckle into the pulp mixture, then lift it level while letting the water drain.
You should see a thin, even layer of pulp on the screen. If it’s too thin, add more pulp to the vat; if too thick, add more water and stir.
Carefully remove the deckle and gently press a couching cloth onto the wet sheet. Use a sponge to absorb excess water through the screen.
Step 5: Couching
Flip the mold onto a flat surface and peel the screen away, leaving the wet paper on the cloth.
Layer another cloth on top if making multiple sheets.
Place the stack between boards and apply weight (books work great). Press for 12–24 hours.
Step 6: Drying
Gently peel your paper from the cloth and air-dry on a rack or clothesline.
For flat paper, you can iron on low heat between parchment paper once it’s mostly dry.
Tips for Success
Experimentation is key: Try different mushroom species, substrates, and pulp blending times to vary texture, strength, and color. Ganoderma or Reishi which grows in the wild and is common in Texas is really great for paper making.
Thinner sheets dry faster and are more flexible; thicker sheets are sturdier but may take longer to dry evenly.
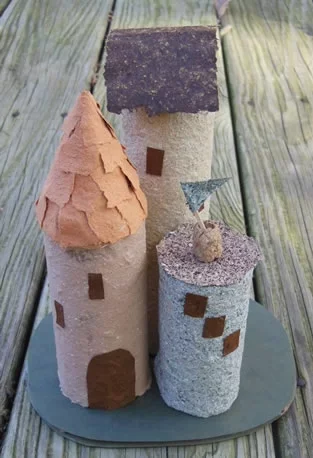
Add inclusions: Blend in recycled paper, plant fibers, or dried flowers for unique effects. You even can mix in plants like grass and flowers like marigolds to achieve different colors. You can even add dried plants and mushrooms at Step 4 for adding more artful textures and collages.
Safety Notes
Use a blender dedicated to crafts, not food.
Work in a well-ventilated area when handling dry substrates.
Some people may be sensitive to fungal spores; wear a mask if concerned.
Never consume the mycelium or paper unless you are using a known edible species and have not added any non-food materials.
Troubleshooting
Mold contamination (green/black spots): Sometimes mushroom blocks have contamination of green mold. Compost these and find a block that is white with healthy mycelium.
Mycelium won’t form a mat: The substrate may be too wet/dry, or temperature is off.
Paper tears easily: The pulp may be too fine, or the sheet was too thin. Try a longer fiber blend or a thicker pour.
Paper is too thick/c lumpy: Blend longer, use more water in the vat, or stir more vigorously before pulling a sheet.
Creating paper from mushrooms is a fascinating blend of mycology and traditional craft. Each batch is unique, reflecting the natural variability of fungal growth. Enjoy the process and the beautiful, earth-friendly material you create!