The Complete Guide to Growing Dung-Loving Mushrooms: Step-by-Step Instructions, Glossary & Supplies
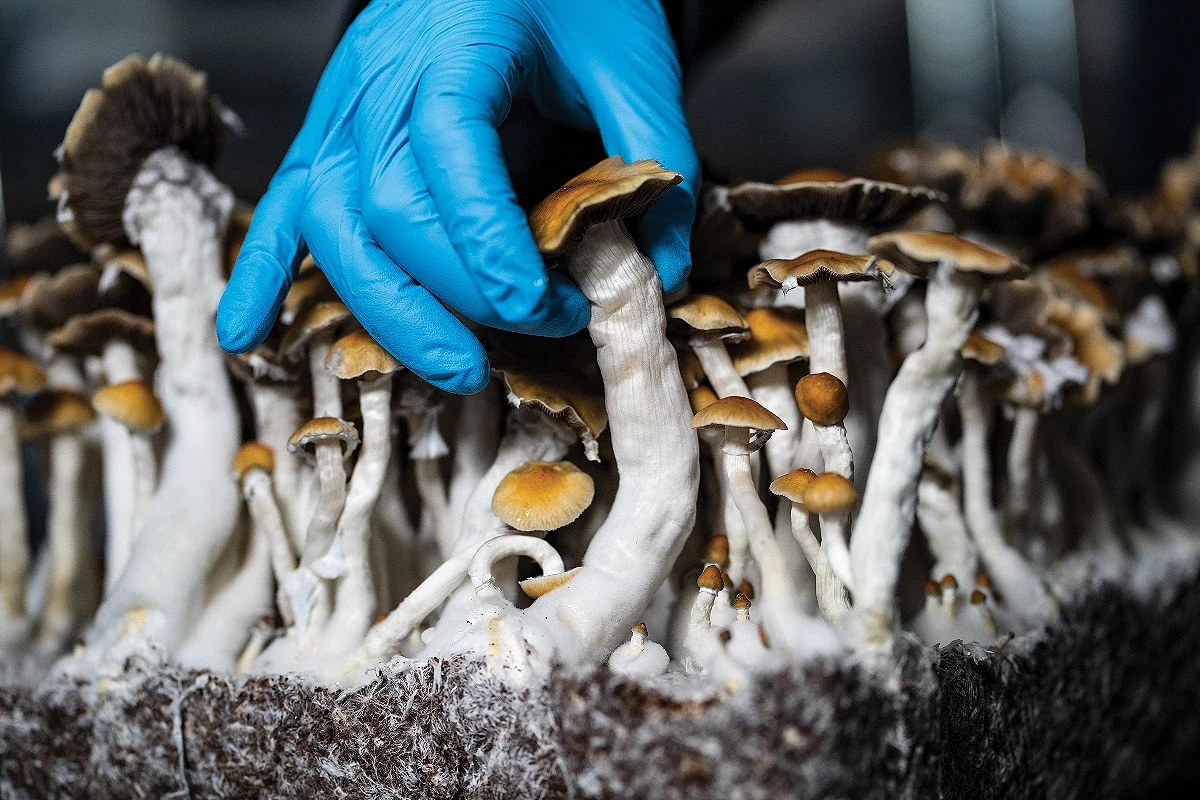
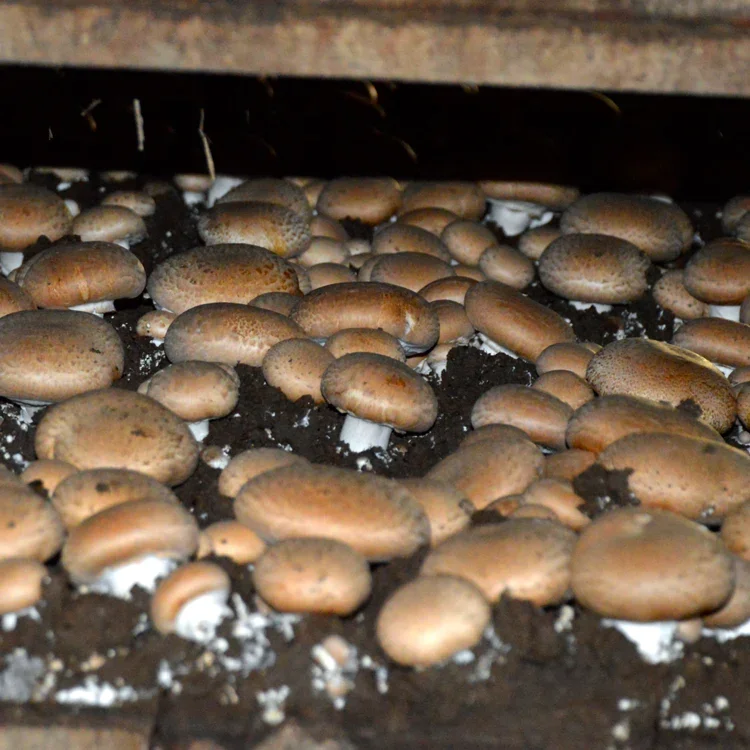
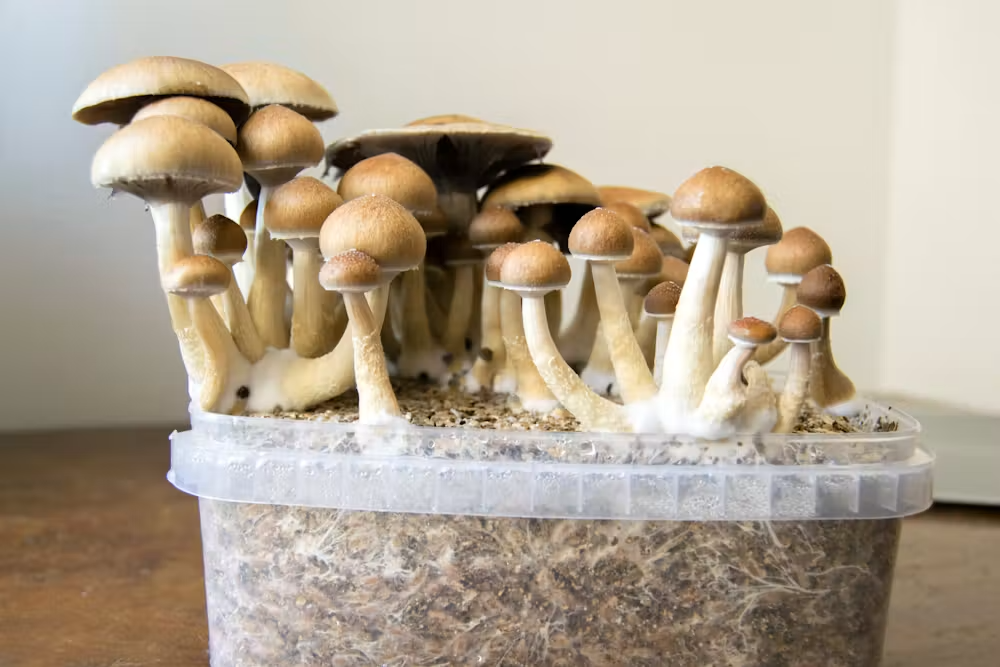
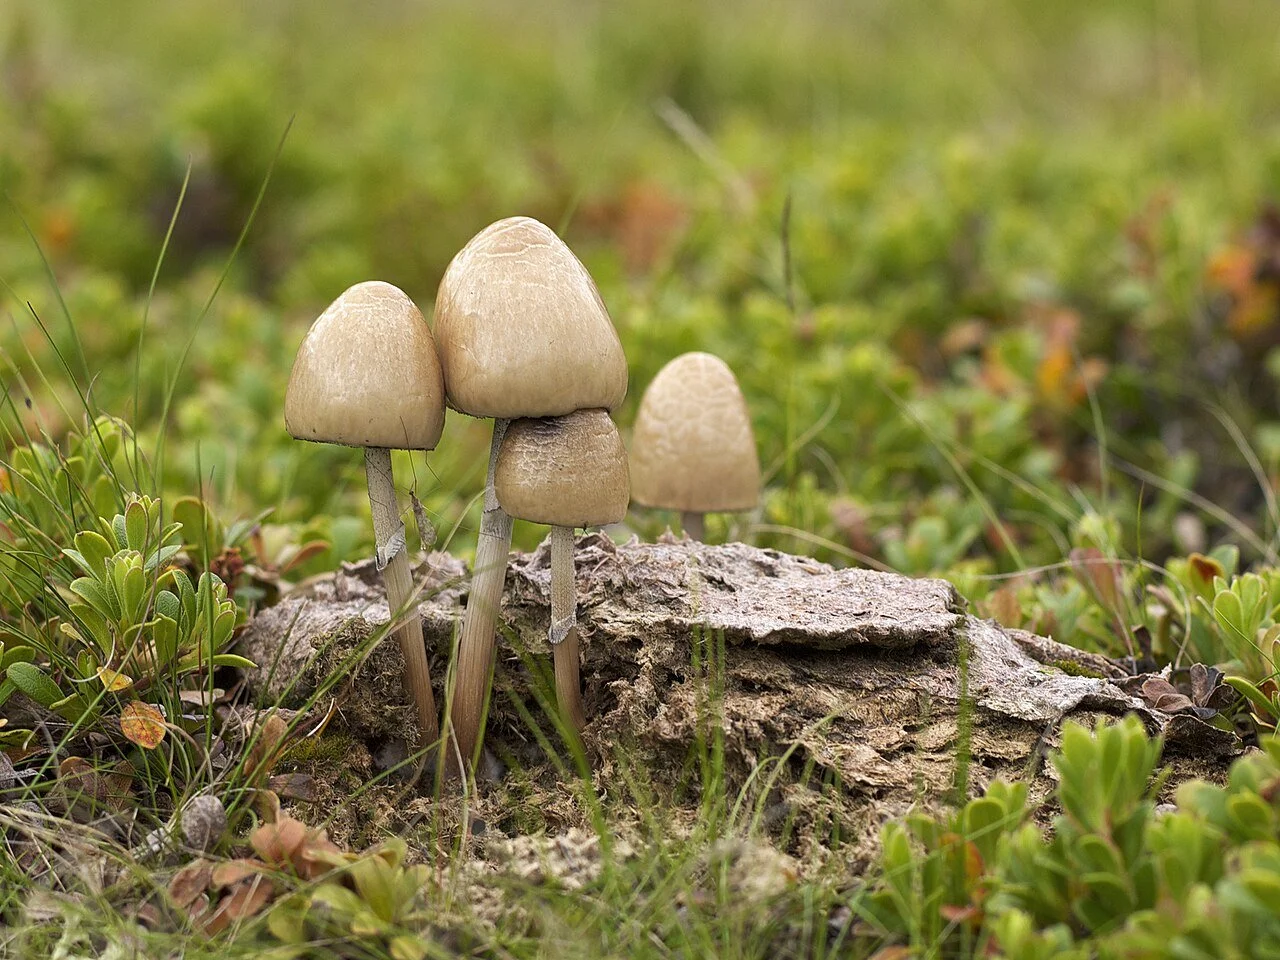
Growing mushrooms that thrive on compost and manure-based substrates—often referred to as coprophilous or dung-loving species—is a rewarding project for home cultivators. These species, which include many gourmet and specialty varieties, have specific needs that set them apart from wood-loving types like oysters or shiitake .
This guide provides a clear, step-by-step framework, a glossary of essential terms, and a supply list to help you get started. As with all cultivation, it is crucial to check your local and state laws before beginning any mushroom growing project .
Glossary of Key Terms
Here is a quick reference for the essential terminology used in mushroom cultivation.
Coprophilous: A term for organisms, including certain fungi, that grow on animal dung. Many coveted species are coprophilous and thrive on manure-rich substrates .
Substrate: The material on which the mushroom mycelium grows. For dung-loving species, this is often a mix of coco coir, vermiculite, and gypsum (CVG). Note that CVG provides structure and moisture retention but is not itself nutritional—manure is what provides nutrition.
Grain Spawn: A substrate (like rye, millet, or wheat berries) that has been sterilized and colonized by mushroom mycelium. It acts as the "seed" to start new grows .
Mycelium: The vegetative, root-like part of a fungus. It's the network of white, thread-like cells that colonizes the substrate and eventually produces mushrooms .
Inoculation: The process of introducing mycelium (via grain spawn, a spore syringe, or liquid culture) to a sterile substrate.
Liquid Culture (LC): A solution of sterilized nutrients (like honey or malt extract) that is colonized by mycelium. LC syringes are a popular and fast way to inoculate substrate .
Sterilization: The process of eliminating all life forms (bacteria, mold spores) from equipment and substrate, typically using a pressure cooker. This is a critical step for success .
Still Air Box (SAB): A simple, clear plastic box with arm holes that creates a low-draft environment for sterile work. Useful but optional—strong sterile habits in a still-air room can also work. Turn off your AC an hour before you need to do sterile work.
Break and Shake: A technique where a colonizing bag of grain or substrate is gently broken up and shaken to redistribute the mycelium, speeding up the process .
Flush: A single harvest cycle of mushrooms. You can typically expect several flushes from a single substrate block before it is exhausted .
Essential Supplies for Growing Mushrooms
To get started, you'll need to gather these core materials. Many of these can be found at mycology supply stores.
Grain Spawn: This is your mycelium's starting point. You can purchase pre-sterilized grain bags or jars.
Substrate Mix: For dung-loving species, a "CVG" mix (Coco Coir, Vermiculite, Gypsum) is a highly effective, manure-free alternative that mimics their preferred environment .
Grow Bags: Filter-patch grow bags are essential. They allow for gas exchange while keeping contaminants out. An "all-in-one" bag, which combines grain and substrate, is a great choice for beginners .
Pressure Cooker: Necessary for sterilizing your own grain and substrate to kill off competing organisms. Again you can purchase pre-sterilized grain spawn and substrate bags. An Instapot can also work.
Spore Syringe or Liquid Culture: This contains the mushroom genetics to start your grow. Liquid culture colonizes much faster than spores .
Sterile Equipment:
70% Isopropyl alcohol
Nitrile gloves
A torch or lighter for sterilizing needles
Fruiting Environment: A grow tent or a dedicated space where you can control temperature, humidity (85-95%), and fresh air exchange .
Step-by-Step Instructions
Step 1: Prepare Your Workspace
Cleanliness is everything in mycology. Turn off fans and air conditioning to let particles settle. Wipe down all surfaces with 70% isopropyl alcohol and put on gloves. If you have one, work inside a Still Air Box (SAB) or in front of a laminar flow hood .
Step 2: Inoculate the Grain or All-in-One Bag
Spray the injection port and your syringe with 70% alcohol.
Flame-sterilize your syringe needle until it glows red, then let it cool.
Insert the needle through the injection port and inject 2 mL of liquid culture per pound of grain.
Seal the bag and place it in a dark, clean area with a stable temperature between 70-78°F.
Step 3: Incubation and "Break and Shake"
Store the inoculated bag in a dark place at a consistent temperature (ideally 70-78°F for dung-loving varieties) .
Leave the bag undisturbed for 10-14 days. You should start to see white, cottony mycelium growing.
Once you see about 15-20% colonization, perform a "break and shake." Gently massage and break up the colonized grain and mix it thoroughly within the bag. This redistributes the mycelium and speeds up colonization .
Re-form the mixed contents into a solid block shape, seal the bag, and return it to incubation .
Step 4: Colonization and Fruiting
Once the grain bag is fully colonized (completely white and firm), it's time to add it to your bulk substrate.
In a clean workspace, break up the colonized grain spawn into individual kernels.
Open your substrate bag and add the colonized grain. A good ratio is roughly 1 part grain spawn to 2-3 parts substrate by volume.
Mix the grain and substrate thoroughly so the spawn is evenly distributed.
If desired, add a thin casing layer of plain substrate over the top. Lightly scratch the surface to create texture for pinning.
Fold the top of the bag and secure it with clips. Return the bag to incubation at ~75°F.
Colonization of the substrate usually takes about 2 weeks. Resist opening or disturbing the bag during this time.
Step 5: Initiate Fruiting
Once the substrate is fully colonized and white, it's time to initiate fruiting.
Cut a 1-2 inch slit or "X" in the plastic of the grow bag just below the filter patch. This allows fresh air to enter.
Place the bag in an area with ambient light and temperatures around 75°F.
Mist the inside of the bag to maintain high humidity (85-90%). Fan the bag a few times a day if needed for fresh air exchange.
The bag itself is the fruiting environment—no separate chamber is required.
Step 6: Harvesting & Post-Harvest Care
Harvest your mushrooms when the caps begin to flatten and just before the veil breaks.
Gently twist and pull or cut the mushroom at the base.
Continue to mist the block and maintain fruiting conditions to encourage additional flushes (usually 3-4 total).
After each harvest, fill any holes with leftover substrate, lightly ruffle the surface, mist deeply, and return to incubation.
Disclaimer: This article is for informational and educational purposes only. It is the user's responsibility to be aware of and comply with all local, state, and federal laws regarding the cultivation of mushrooms, including the legality of spores, mycelium, and the specific species involved